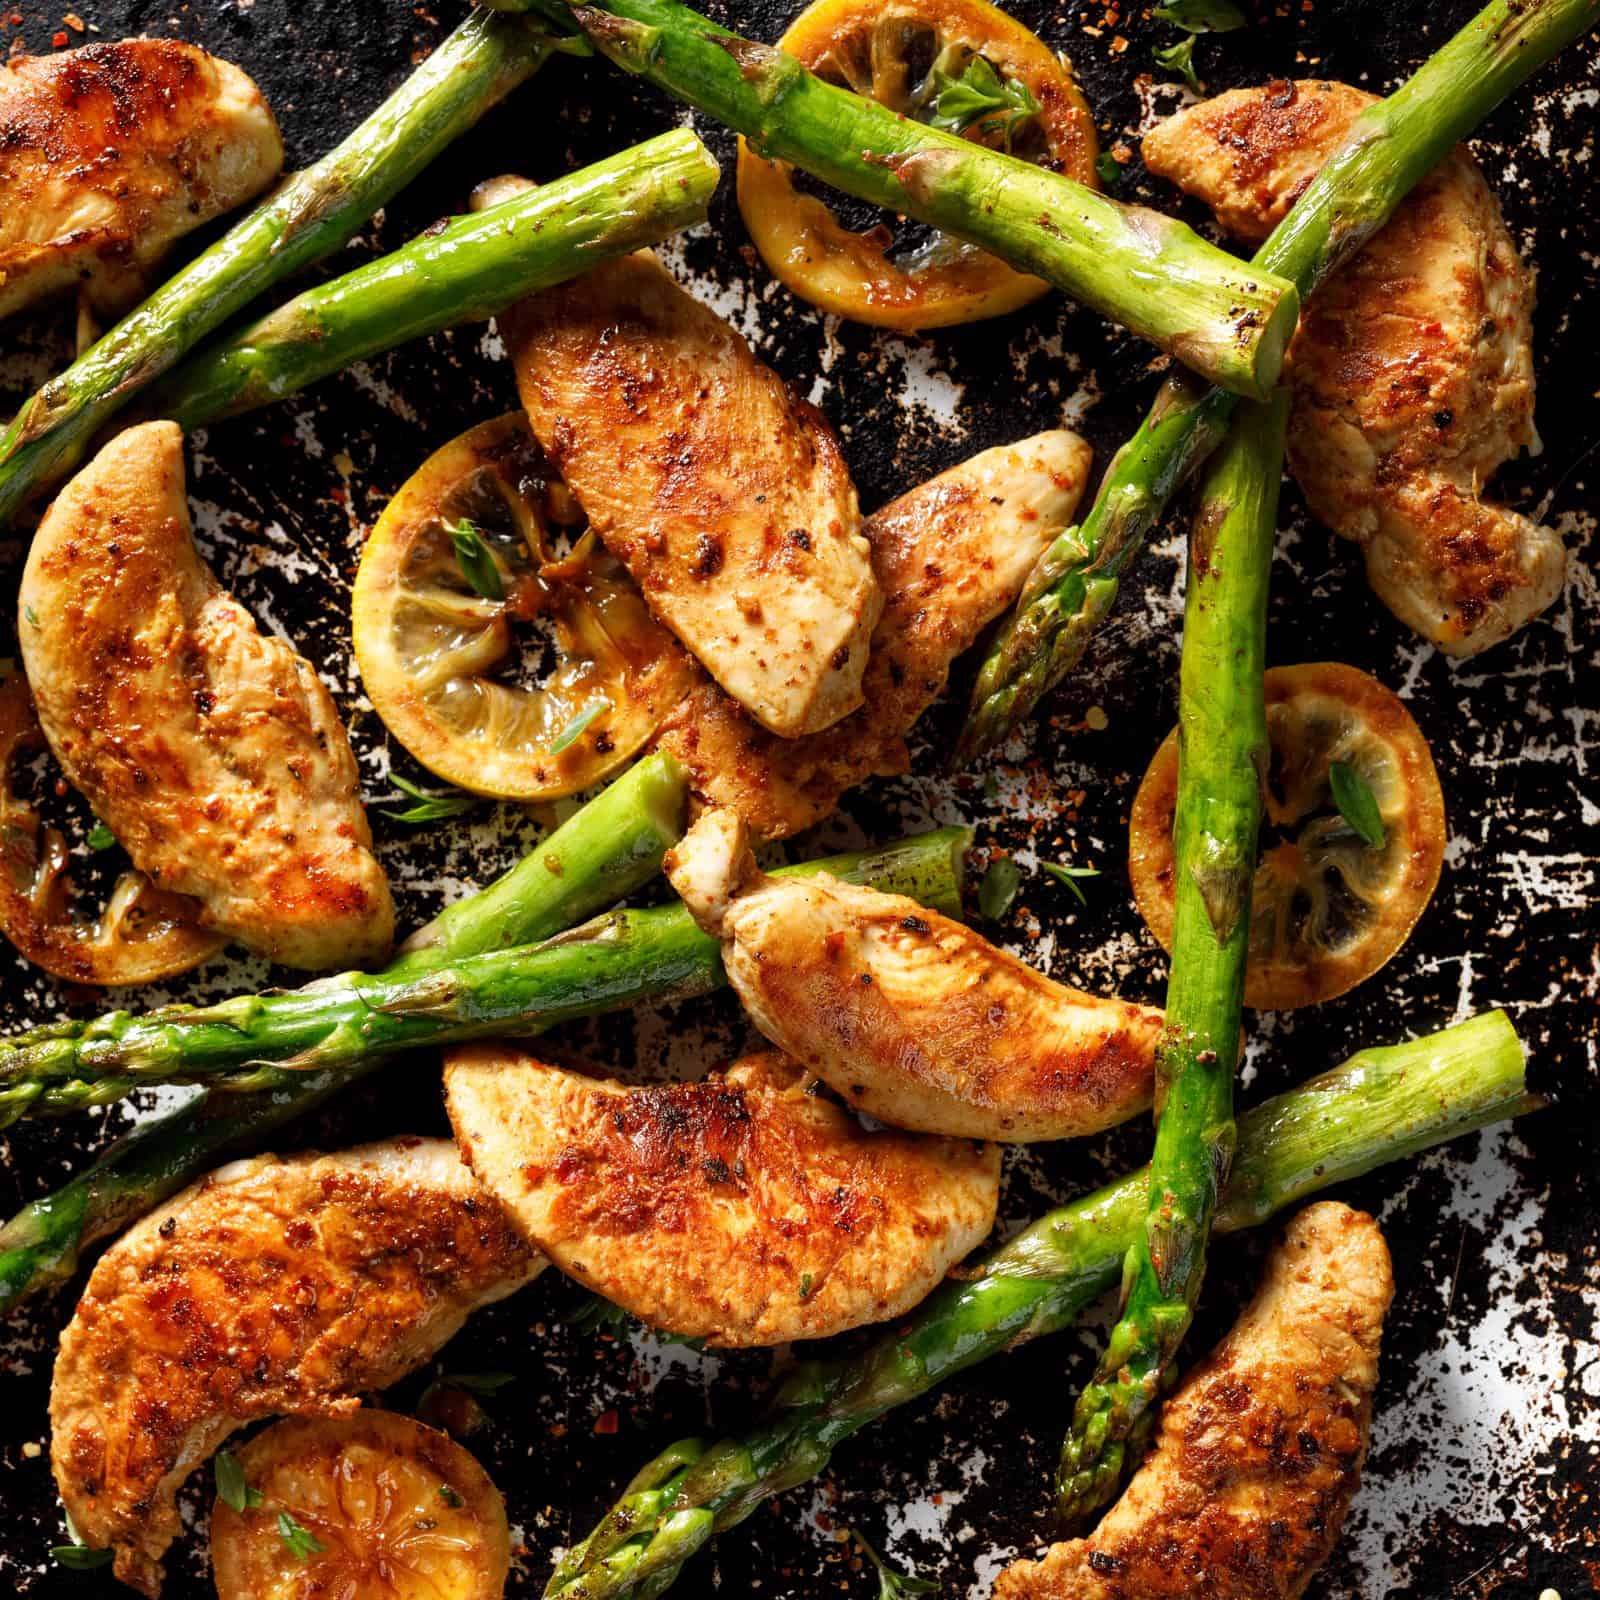
Bring the lively flavors of the all-American steakhouse to your dinner table with these 15 Texas Roadhouse copycat recipes for home cooks who want reliable, tested dishes.
Don't lose this article. Enter your email below, and I'll send it to you right now. Plus a little encouragement and inspiration from me, straight to your inbox.
This recipe roundup will not disappoint. From smoky baby back ribs to Wild West shrimp, we've got you covered! (Don't worry, we've got the famous rolls too. It would be criminal to forget those!) These are kitchen-tested recipes that deliver serious results, so what are you waiting for? Grab a peanut or two, and let's get cooking!

Five simple dinners. One grocery list.
No recipe hunting, no messy shopping notes, no complicated chef projects. Just family dinners that fit real weeks.
Texas Roadhouse Rolls

Okay, let's be real, the whole reason we go to Texas Roadhouse is actually for the rolls. At least it is for me! The legendary appetizer features honey-sweetened dough brushed with butter, creating its signature appeal. The butter is brushed on while hot, which maximizes flavor absorption rather than just a surface coating.
There's a common misconception that they're labor-intensive, but most of the time is passive. They rise for about 2 to 3 hours total, but the actual hands-on work is only 15 minutes. These rolls are great for freezing and reheating because the butter-enriched dough stays moist, making them superior to most dinner rolls that dry out. The restaurant version uses commercial yeast quantities and steam injection to achieve that golden-brown exterior. The at-home version gets pretty darn close but produces a slightly different texture.
Not surprisingly, people request extra baskets all the time. Texas Roadhouse's famous rolls are comforting, nostalgic, and addictive all at the same time. It's impossible to have just one.
Ingredients
Method
- In a large bowl, combine warm milk, yeast, and 1 tablespoon of the honey. Let stand for 5 minutes until foamy.
- Add remaining honey, melted butter, and egg to the yeast mixture and whisk to combine.
- Add flour and salt, then mix until a soft dough forms. Knead on a floured surface for 5-7 minutes until smooth and elastic.
- Place dough in a greased bowl, cover with a towel, and let rise in a warm place for 1 hour or until doubled in size.
- Punch down dough and divide into 24 equal pieces. Shape each piece into a ball and place on greased baking sheets, spacing 2 inches apart.
- Cover rolls and let rise for 30 minutes until puffy.
- Preheat oven to 350°F. Bake rolls for 12-15 minutes until golden brown on top.
- Brush hot rolls generously with melted butter and serve warm.
Cinnamon Honey Butter
Of course, we can't mention the rolls without also dropping a recipe for cinnamon honey butter. A perfect balance of sweetness and indulgence, this whipped, fluffy spread will turn the dial on your roll-eating up to 11.
You must use room temperature butter. Too soft and it won't whip properly; too cold and it won't incorporate air. Whipping it for the right amount of time, about 1 to 2 minutes with an electric mixer, creates the fluff. The honey adds moisture and offsets the grittiness from the cinnamon, but be careful not to add too much or it will weep and separate.
The texture contrast is the real appeal here: a fluffy spread on warm bread that melts in your mouth. The cinnamon honey butter stays spreadable in the fridge for about 2 weeks. Storing it at room temperature will soften it but shortens shelf life.
Ingredients
Method
- In a large mixing bowl, add the softened butter and beat with an electric mixer on medium speed for 1-2 minutes until fluffy.
- Add powdered sugar and continue beating until well combined and smooth.
- Pour in honey and add cinnamon, then beat on medium-high speed for 3-4 minutes until light, fluffy, and thoroughly whipped.
- Transfer to a serving bowl or storage container and refrigerate until ready to serve. Let sit at room temperature for 10-15 minutes before serving for easiest spreading.
Crispy Cactus Blossom
A whole onion, cut and fried into crispy petals, makes the impressive Crispy Cactus Blossom. This is a signature dish at Texas Roadhouse, and it's gone viral on social media because people insist on recreating it. (Can you blame them? Here you are, after all!) This recipe uses a whole sweet onion cut in a specific pattern without going all the way through. You want an oil temperature of about 350°F to prevent greasiness and to also give you that golden crispiness.
If the heat is too low, the result is soggy; if it's too high, you'll get a burnt outside and a raw inside. For best results, soak in ice water before frying to open up the petals and produce a better texture. For maximum Crispy Cactus Blossom amazingness, pair with a mayo-sriracha dipping sauce.
Ingredients
Method
- Cut off the top of the onion and peel. Place cut side down and make vertical cuts around the onion, stopping 1/2 inch from the bottom, creating 12-16 evenly spaced petals. Soak in ice water for 10 minutes, then drain and pat dry.
- Dip the onion in the seasoned flour, coating thoroughly and getting between all the petals. Dip in egg mixture, then coat again with seasoned flour, making sure every petal is well covered.
- Heat 4-5 inches of oil in a large Dutch oven or deep pot to 350°F. Carefully place the onion cut-side down in the hot oil.
- Fry for 3 minutes, then carefully flip using tongs or a spider strainer. Fry for an additional 6-7 minutes until deep golden brown and crispy.
- Remove from oil and drain on paper towels. Season with additional salt immediately.
- Make the dipping sauce by whisking together mayonnaise, ketchup, horseradish, and hot sauce in a small bowl.
- Serve the cactus blossom immediately while hot with the dipping sauce on the side.
Pickle Juice Chicken Tenders

Pickle juice is the magic ingredient for Texas Roadhouse's chicken tender wizardry. It tenderizes and flavors simultaneously, creating a perfect balance of a crispy outside with a moist inside. The acid in the pickle juice breaks down the protein fibers of the chicken, making it an actual tenderizing mechanism. Four hours is the minimum for the marinade time, and that's what it takes. Don't worry, overnight soaking doesn't over-soften it if kept cold.
The crispy coating contrast is an important detail too. Your breading technique and frying temperature do as much work as the marinade. The homemade version won't taste identical to what you get at the restaurant, since they have commercial equipment, specific oil temperatures, and volume production on their side, but I'll be darned if it ain't lip-smacking good.
Ingredients
Method
- Place chicken tenderloins in a large zip-top bag or bowl and pour pickle juice over them. Refrigerate for at least 4 hours or overnight, turning occasionally.
- Remove chicken from pickle juice and pat dry with paper towels. In a shallow dish, whisk together eggs and milk.
- In another shallow dish, combine flour, paprika, garlic powder, onion powder, salt, and black pepper.
- Heat 1 inch of vegetable oil in a large skillet over medium-high heat to 350°F.
- Dip each chicken tender first in the egg mixture, then dredge thoroughly in the seasoned flour, pressing to adhere.
- Fry chicken tenders in batches for 3-4 minutes per side until golden brown and cooked through to 165°F internal temperature.
- Drain on paper towels and serve hot with your favorite dipping sauce.
Juicy Prime Rib

With a little love and the right amount of patience, your juicy Texas Roadhouse prime rib dreams can become a reality at your dinner table. All you need is quality beef, a little seasoning, and a thermometer, and you're already on the road to success. The non-negotiable triad for amazing prime rib is a room-temperature start, low-and-slow cooking, and proper resting, about 15 to 20 minutes. If you cut corners, like skipping the rest or cutting too early, you lose the juices you've worked hard to keep in.
The restaurant's advantage is consistency and a lot of practice, but a talented home cook can match it with a good thermometer and, again, patience. This dish is a great confidence builder because it's simpler than it looks, and man, is it tasty!
Ingredients
Method
- Remove prime rib from refrigerator and let stand at room temperature for 2 hours before cooking.
- Preheat oven to 450°F. In a small bowl, mix together salt, black pepper, garlic powder, onion powder, thyme, rosemary, and cayenne pepper.
- Rub the entire roast with olive oil, then coat generously with the seasoning mixture, pressing it into the meat.
- Place the roast bone-side down in a roasting pan and cook at 450°F for 15 minutes to create a crust.
- Reduce oven temperature to 325°F and continue roasting for 13-15 minutes per pound for medium-rare (about 1.5-2 hours total), until internal temperature reaches 120-125°F.
- Remove from oven, tent loosely with foil, and let rest for 20-30 minutes before carving. The temperature will rise to 130-135°F during resting.
- Slice between the bones and serve immediately with horseradish sauce.
Smoky Baby Back Ribs

Smoky. Baby. Back. Ribs. A quintessential quadfecta of pure deliciousness! Here's how to mimic Texas Roadhouse's smoky style using the oven-and-broiler method.
First, removing the membrane is a texture game changer, because your spices are going to have a greater effect and the mouthfeel is less chewy. From there, we're going to use a low-and-slow oven braise, which breaks down the collagen and adds tenderness without extra equipment. Finish these bad boys in the broiler or on the grill with sauce to create a crust and char in minutes, which mimics the smoker's Maillard reaction. If fall-off-the-bone meat is your texture dream, these baby back ribs will be an absolute hit.
Ingredients
Method
- Preheat oven to 275°F. Remove the membrane from the back of each rib rack by sliding a knife under it and pulling it off with a paper towel.
- In a small bowl, combine brown sugar, smoked paprika, chili powder, garlic powder, onion powder, salt, pepper, and cumin to make the dry rub.
- Rub the spice mixture generously over both sides of the ribs, then wrap each rack tightly in aluminum foil.
- Place wrapped ribs on a baking sheet and bake for 2.5 to 3 hours until meat is very tender and pulling away from the bones.
- While ribs cook, whisk together barbecue sauce, apple cider vinegar, and honey in a small saucepan over medium heat until combined and warmed through.
- Remove ribs from oven and carefully unwrap. Preheat broiler or prepare grill to medium-high heat.
- Brush ribs generously with the sauce mixture and broil or grill for 3-5 minutes until sauce is caramelized and sticky.
- Let rest for 5 minutes, then cut between bones and serve with extra sauce on the side.
Loaded Baked Potato
Who can bemoan a loaded baked potato? With a fluffy, steamy inside and all the delicious mix-ins stacked up high, it's the pinnacle of stick-to-your-ribs goodness. The Texas Roadhouse baked potato exceeds through quality russets, baked unwrapped on racks, which are then topped with reckless abandon. You know the usual suspects: bacon, cheddar, and sour cream.
We need to talk for a minute about potatoes. Russets, compared with other potatoes, have a starch content that creates fluffiness inside, and their skin crisps better than waxy varieties. Foil is the go-to baked potato method, but hear me out: unwrapped is the secret to the crispy exterior.
When it comes to toppings, it's choose your own adventure. Go the steakhouse route and pile on the mixins generously, or tone it down for a more health-conscious potato dinner. Bacon, cheddar, and sour cream are the power trio because they give you the fat, salt, and acid flavor balance. Add the cheese to the potato directly out of the oven for melty goodness, then cool with a generous dollop of sour cream. And don't skip those munchy, crunchy bacon bits.
Don't lose this article. Enter your email below, and I'll send it to you right now. Plus a little encouragement and inspiration from me, straight to your inbox.
Ingredients
Method
- Preheat oven to 400°F and position rack in the center.
- Scrub potatoes clean and pat dry, then prick each potato several times with a fork.
- Rub potatoes all over with olive oil and sprinkle generously with sea salt.
- Place potatoes directly on oven rack and bake for 60-75 minutes until skin is crispy and inside is tender when pierced with a fork.
- Remove from oven and let cool for 5 minutes, then cut a deep slit lengthwise across the top of each potato.
- Gently squeeze the ends of each potato to open it up, then fluff the insides with a fork.
- Add 1 tablespoon of butter to each potato and allow to melt into the fluffy interior.
- Top each potato generously with shredded cheddar cheese, crumbled bacon, a dollop of sour cream, and fresh chives before serving.
Grilled Salmon Fillet
Quality fish, straightforward seasoning, and proper searing technique are all you need to enjoy a Texas Roadhouse-style grilled salmon filet at your own dinner table. High heat is super important here, since it creates the caramelized crust that locks in moisture and flavor. If the heat is too low, you get a rubbery, steamed fish. Use a light marinade instead of a heavy sauce to let the salmon's natural flavor shine. You can achieve this by using acid, oil, and minimal herbs.
Salmon's fat content helps it stay tender even if slightly overcooked, unlike lean fish, making it a forgiving protein for home cooks. Grill marks on the fish indicate proper searing, but don't worry about it too much. Focus on the internal temperature instead: 125-130°F for medium-rare. Replicating restaurant quality at home will depend heavily on where you source your fish. Wild-caught salmon are lean, robust, and savory. Farmed salmon are fatty, mild, and mildly buttery, so choose accordingly.
Ingredients
Method
- In a small bowl, whisk together olive oil, lemon juice, minced garlic, paprika, onion powder, dried parsley, salt, and black pepper.
- Place salmon fillets in a shallow dish and pour the marinade over them, turning to coat evenly. Let marinate for 10-15 minutes at room temperature.
- Preheat grill or grill pan to medium-high heat and lightly oil the grates.
- Remove salmon from marinade and place skin-side down on the hot grill.
- Grill for 5-6 minutes without moving, until the skin is crispy and releases easily from the grates.
- Carefully flip the salmon and grill for an additional 4-6 minutes until fish is cooked through and flakes easily with a fork.
- Remove from grill and let rest for 2 minutes before serving with fresh lemon wedges.
Wild West Shrimp
Wild West Shrimp is a duel at high noon. Not really, but it caught your attention, didn't it?
Ingredients
Method
- In a medium bowl, whisk together sweet chili sauce, honey, sriracha, lime juice, minced garlic, and cayenne pepper until well combined. Set aside.
- Pat shrimp completely dry with paper towels to ensure they sear properly.
- Heat vegetable oil in a large skillet over medium-high heat until shimmering.
- Add shrimp in a single layer and cook for 2-3 minutes per side until pink and just cooked through.
- Pour the prepared sauce over the cooked shrimp and toss to coat evenly, cooking for an additional 1-2 minutes until sauce is heated through and slightly thickened.
- Arrange shredded lettuce on a serving platter and top with the glazed shrimp.
- Garnish with fresh cilantro and serve immediately with lime wedges on the side.
Rattlesnake Bites
Crispy, spicy, and cheesy all come together in these Texas Roadhouse-inspired rattlesnake bites. It's love at first bite: first the crispy crunch, then the burst of creamy cheese, and then a zesty little "ka-POW!" from the jalapeño.
These are easy to make at home as long as you control the oil temperature and freeze before frying. An oil temperature of 350 degrees Fahrenheit is the sweet spot. Below that will give you a greasy popper. Above that will result in a cold interior and a burnt exterior.
You're going to want to freeze them before frying, which is critical for firming the cheese, preventing leaking, and helping the coating adhere. You could use cream cheese or cheddar cheese, but they will give you different results. Cream cheese means less melty but better structural integrity, while cheddar cheese means gooey but it doesn't hold shape as well.
For full-spice jalapeños, leave the seeds in. To tone down the heat, remove the seeds. Options for breading include all-purpose flour, seasoned flour, and panko, each with a different effect on crispiness and texture.
Ingredients
Method
- In a large bowl, mix together cream cheese, Monterey Jack cheese, cheddar cheese, diced jalapeños, and ranch dressing mix until well combined.
- Form the mixture into 1-inch balls and place on a parchment-lined baking sheet. Freeze for 15 minutes to firm up.
- Set up a breading station with three shallow bowls: one with flour, one with beaten eggs, and one with panko breadcrumbs.
- Roll each cheese ball in flour, then dip in egg, and finally coat thoroughly with panko breadcrumbs.
- Heat vegetable oil in a deep pot to 350°F. Fry the bites in batches for 2-3 minutes until golden brown.
- Remove with a slotted spoon and drain on paper towels. Serve hot with ranch dressing for dipping.
Dallas Cheese Fries

Fries, with cheese on cheese, and more cheese, please. These Texas Roadhouse-inspired Dallas cheese fries are cheesy fry heaven, featuring a double-fry method that delivers restaurant-quality results at home. The first fry cooks the interior at 325 degrees Fahrenheit, and next you crisp up the exterior by frying in 375 degrees Fahrenheit. The double-fry is critical for preventing sogginess under all the toppings.
Texas Roadhouse uses beef tallow or a special oil blend, but you can approximate similar results with peanut or vegetable oil. The cheese sauce and shredded cheese both have important roles here. The sauce adds creaminess and adhesion, and the shredded cheese adds texture.
Fun fact: the loaded fries trend exploded in the 2010s, competing with loaded nachos and poutine.
Ingredients
Method
- Heat oil in a large pot or deep fryer to 325°F. Fry the cut potatoes in batches for 5 minutes until soft but not browned. Remove and drain on paper towels.
- Increase oil temperature to 375°F. Fry the potatoes again in batches for 3-4 minutes until golden brown and crispy. Drain and season immediately with salt and pepper.
- Arrange the hot fries on a large oven-safe platter or baking sheet. Drizzle the warm cheese sauce over the fries.
- Sprinkle shredded cheddar cheese and crumbled bacon over the top. Place under the broiler for 1-2 minutes until the cheese melts.
- Remove from oven and top with dollops of sour cream, green onions, and jalapeño slices if desired. Serve immediately while hot.
Steak Kabobs

Enjoy these juicy, savory steak kabobs through marinade magic, even-sized meat chunks, and soaking the wooden skewers. The magic marinade breaks down the muscle fibers through enzymatic tenderizing. Refrigerate the steak in the marinade for at least 2 hours, up to 8 hours, for full flavor saturation.
Make sure you cut the meat chunks evenly, which is critical for food safety and quality. With the additional placement of vegetables, you get added nutrition and visual appeal, but they have different cook times than meat. For instance, peppers cook faster than onions.
Soak the wooden skewers for at least 30 minutes to prevent charring and splintering. You can skip this step with metal skewers, but they conduct heat differently.
Texas Roadhouse is known for its high-volume grilling expertise, and with patience and attention to detail, you can achieve similarly excellent results at home.
Ingredients
Method
- In a large bowl or resealable bag, combine soy sauce, vegetable oil, Worcestershire sauce, lemon juice, minced garlic, brown sugar, and black pepper to create the marinade.
- Add steak cubes to the marinade, toss to coat well, and refrigerate for at least 2 hours or up to 8 hours for maximum flavor.
- Preheat grill to medium-high heat. If using wooden skewers, soak them in water for 30 minutes beforehand.
- Thread marinated steak cubes onto skewers, alternating with bell peppers, onion chunks, and mushrooms.
- Grill kabobs for 10-12 minutes, turning every 3 minutes, until steak reaches desired doneness and vegetables are tender with slight char.
- Remove from grill and let rest for 3 minutes before serving. Serve hot with your favorite dipping sauce or over rice.
Fall-Off-Bone Ribs
Slow roasting plus high heat caramelizing gives you Texas Roadhouse style fall off the bone ribs. The two-step method mimics restaurant technique, with the low temperature giving you the breakdown of collagen and the high heat creating a crust. The brown sugar in the rub does double duty; it adds sweetness and is a catalyst for caramelization, so avoid the common mistake of oversweetening, thereby masking the smoke flavor.
If you want fall-off-the-bone results, you're going to need to cook for five to six hours on low heat at a minimum. Rushing to three to four hours gives chewy, not tender, results. The spice rub is really special here because it gives you that "bark" that contrasts with the tender interior, a key detail that distinguishes restaurant quality from basic slow-cooked ribs.
At $ 8- $ 12 per homemade rack versus $20/rack retail, you're saving money by cooking at home, and as a health bonus, you also have better control over salt and sugar levels.
Ingredients
Method
- Preheat oven to 275°F and line a large baking sheet with aluminum foil.
- Remove the membrane from the back of the ribs by sliding a butter knife underneath and pulling it off completely.
- In a small bowl, combine brown sugar, paprika, garlic powder, onion powder, black pepper, salt, and cayenne pepper to make the dry rub.
- Generously coat both sides of the ribs with the dry rub, pressing it into the meat.
- Wrap each rack tightly in aluminum foil and place on the prepared baking sheet.
- Bake for 2.5 to 3 hours until the meat is very tender and pulling away from the bones.
- Mix barbecue sauce with honey in a small bowl.
- Remove ribs from foil, brush generously with the barbecue sauce mixture, and broil for 3-5 minutes until the sauce is caramelized and bubbly.
- Let rest for 5 minutes before slicing between the bones and serving.
Buttery Green Beans

Buttery green beans are a simple, healthier side dish that gives you tender-crisp texture with restaurant quality results. Texas Roadhouse serves them alongside every rib and steak order as an intentional complimentary pairing. Getting that tender-crisp texture comes down to boiling for 5 to 7 minutes on high heat. Overcooking will give you a mushy green bean, and undercooking will give you a tough green bean.
Butter is really going to take these green beans to the next level, so for best results, use quality butter and fresh garlic. Seasoning salt, not just salt, adds umami and depth, making these green beans stand out above the rest.
Ingredients
Method
- Bring a large pot of salted water to a boil over high heat.
- Add green beans and cook for 5-7 minutes until tender-crisp, then drain well.
- In a large skillet, melt butter over medium heat and add minced garlic, cooking for 1 minute until fragrant.
- Add the drained green beans to the skillet and toss to coat in the garlic butter.
- Sprinkle with seasoning salt, black pepper, and onion powder, tossing well to combine.
- Cook for an additional 2-3 minutes, stirring occasionally, until beans are heated through and well-coated.
- Serve immediately while hot and buttery.
T-Bone Steak
All you need is a cast iron skillet, high heat, and proper resting to get a Texas Roadhouse-quality T-bone steak. A T-bone consists of a strip on one side and tenderloin on the other, separated by a T-shaped bone, and it cooks unevenly unless you use the proper technique. Searing at 450°F in cast iron creates the Maillard reaction, or browning effect, in 2 to 3 minutes per side.
Let the T-bone rest for 5 to 10 minutes after cooking, since this allows the carryover cooking to finish and the juices to redistribute. Be careful not to cut too early, as that will give you dry meat. Avoid the common mistake of moving the T-bone constantly or using medium heat, which eliminates the crust and steams the meat instead of searing it. Cast iron is the superstar here because it retains heat better than stainless steel, and it's more forgiving than outdoor grills for home cooks.
Ingredients
Method
- Remove steaks from refrigerator 30 minutes before cooking to bring to room temperature.
- Pat steaks completely dry with paper towels, then brush both sides lightly with vegetable oil.
- In a small bowl, combine salt, black pepper, garlic powder, and onion powder, then generously season both sides of each steak.
- Heat a cast-iron skillet over high heat until smoking hot, about 5 minutes.
- Place steaks in the skillet and cook without moving for 4-5 minutes until a deep brown crust forms.
- Flip steaks and cook for another 4-5 minutes for medium-rare, or until desired doneness is reached.
- Add butter and thyme sprigs to the pan, tilting the skillet and spooning the melted butter over the steaks for 1 minute.
- Remove steaks from skillet and let rest on a cutting board for 5-10 minutes before serving.
- Serve with the pan butter drizzled over the top.