Kids’ birthday parties often present a challenge for parents. After all, how do you safely occupy a gang of overexcited children for a whole afternoon? Well, we have the answer to your prayers in the form of this backyard treasure hunt tutorial.
And don’t worry if you only have a small budget. As long as you have a backyard and a good imagination, you can create this fun activity for your child’s birthday party on a shoestring!
Here’s how to do it:
Table of Contents
What you’ll need
- One large sheet of off-white paper
- Razor blade
- Cigarette lighter
- Pencil
- Colored marker pens
- An old metal box
- Chain, padlock, and key
- Old, low-value coins and metal tokens (for the treasure)
- Small wooden box (that fits inside the metal box)
- Shovel and fork
- Garbage bag
- Trowels or mini shovels (one for each child)
Pesos make great treasure! These coins already have an aged look and can be bought cheaply on eBay.
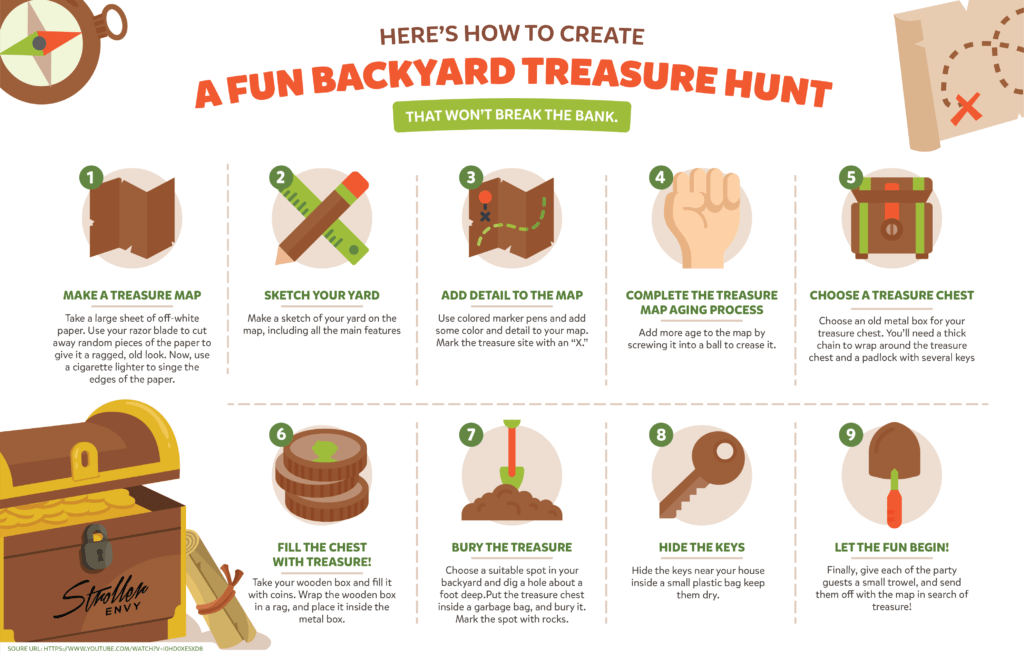
Step 1: Make a treasure map
As all junior pirates know, you can’t have a treasure hunt without a map! So, your first job is to make a treasure map.
Take a large sheet of off-white paper. Use your razor blade to cut away random pieces of the paper to give it a ragged, old look.
Now, use a cigarette lighter to singe the edges of the paper, adding to the distressed look. For safety reasons, it’s best to do this part of the project outside.
Step 2: Sketch your yard on the map
Take a soft pencil and make a sketch of your yard on the map. Be sure to include all the main features of your outside space such as ponds, trees, fire pit, etc. Add your house too.
Step 3: Add detail to the map
Now, take your colored marker pens and add some color and detail to your map.
Remember to mark the spot where the treasure is buried, using an “X,” in true pirate map tradition! You’ll also need to indicate the place where the treasure hunters can find the all-important keys to the box.
Step 4: Complete the treasure map aging process
Once you’ve finished creating the map, you’ll need to add more aging. You can do this by screwing the map into a ball so that the paper finishes up creased and crinkled.
Step 5: Choose a treasure chest
Next, you’ll need a suitable metal box that can be your treasure chest.
You’ll need to get hold of a thick chain to wrap around the treasure chest and a padlock with several keys. We recommend that you keep hold of a spare key, just in case the others get lost in the excitement of the hunt!
Step 6: Fill the treasure chest with treasure!
Take your wooden box and fill it with coins. Wrap the wooden box in a rag to protect it from damp. Place the wrapped wooden box inside the metal box.
Wrap the chain around the metal box and secure it with the padlock.
Step 7: Bury the treasure
Choose a suitable spot in your backyard and dig a hole about a foot deep.
Put the treasure chest inside a garbage bag, and bury it in the hole you dug.
Mark the spot with rocks.
Step 8: Hide the keys
Hide the keys near your house inside a small plastic bag keep them dry.
Step 9: Let the fun begin!
Finally, give each of the party guests a small trowel, and send them off with the map in search of buried treasure!
We bring you this project courtesy of 6th Gear Garage. You can check out the full video at this link.


