Why not jazz up your Halloween decorations or give your fall interior décor a sparkling boost this year with these simple and effective DIY Glitter pumpkins?
These cute, fun decorations are quick and super-easy to make, and will only cost you a few dollars. Creating these gorgeous glitter pumpkins is something you and your kids can do together, making precious memories as you go!
Follow our simple How-To guide to making DIY glitter pumpkins, based on this YouTube video by the Haschak Sisters, and give your Halloween party a super-spooky sparkle!
Table of Contents
What You’ll Need
- Pumpkins
- White vinegar
- Loose glitter
- Clear-drying craft glue
- Glue brush
- Plastic spoon
- Large plastic bowls
- Paper plates
- Pen
- Paper towel
- Large sheets of paper
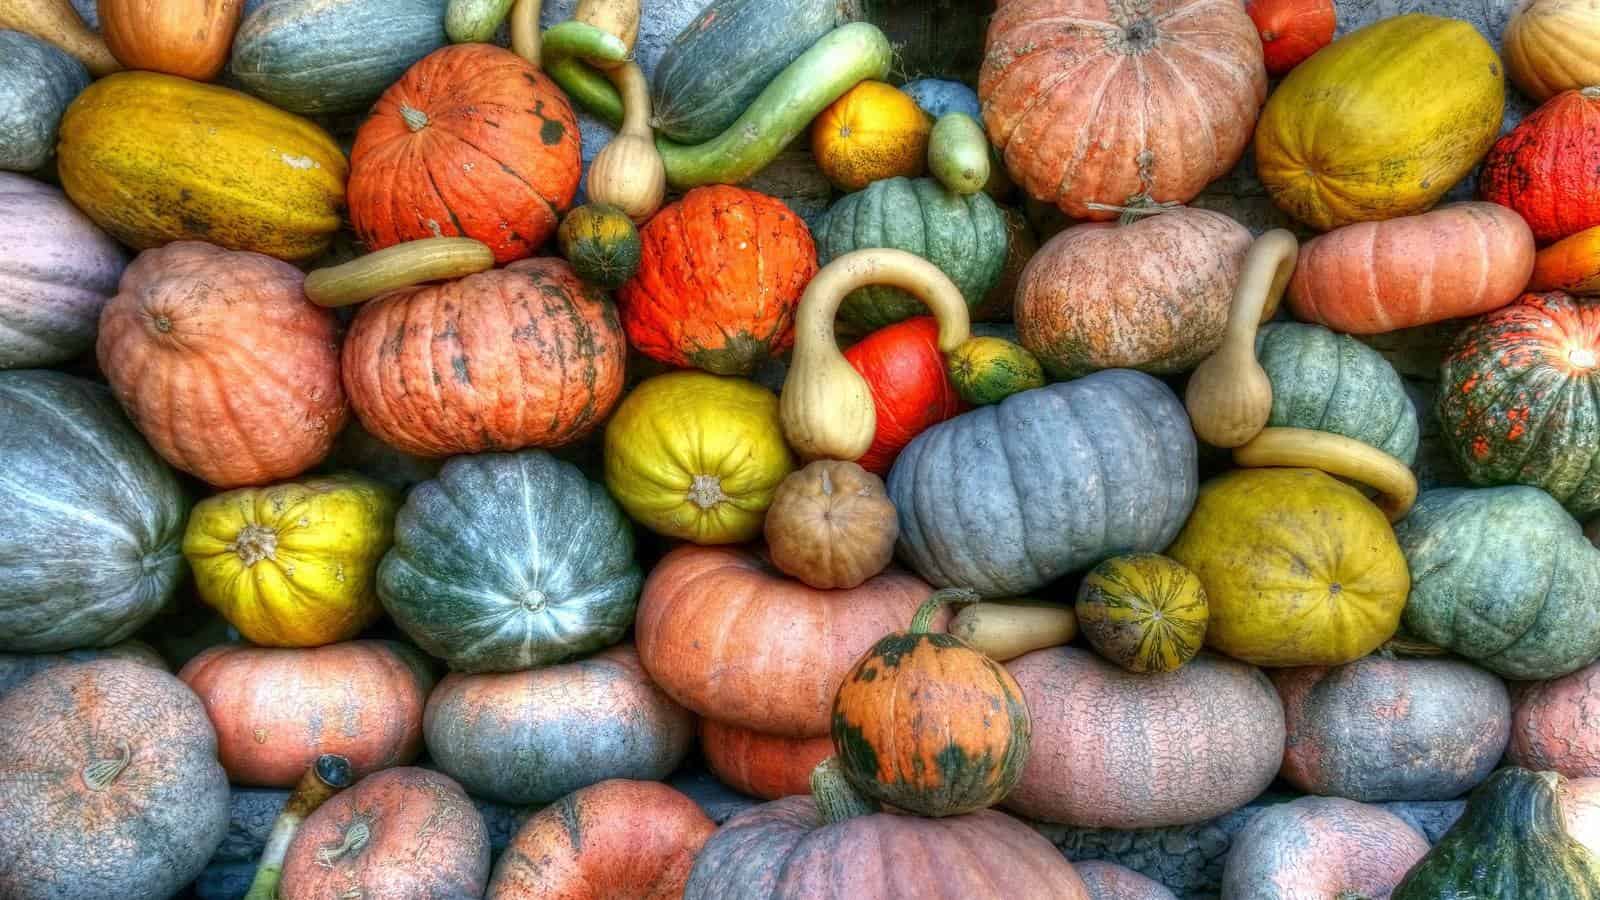
To make your glitter pumpkins truly unique, choose pumpkins of different colors, shapes, and sizes. Glitter comes in lots of beautiful colors, but you might want to pick fall shades such as gold, rose gold, silver, and bronze.
You can buy glitter, craft glue, and brushes from good crafting stores or online. In fall, you’ll get pumpkins at your local grocery store, farmers’ market, or direct from a local grower. The weirder the pumpkin shapes you can find the better, especially if the stems are still attached.
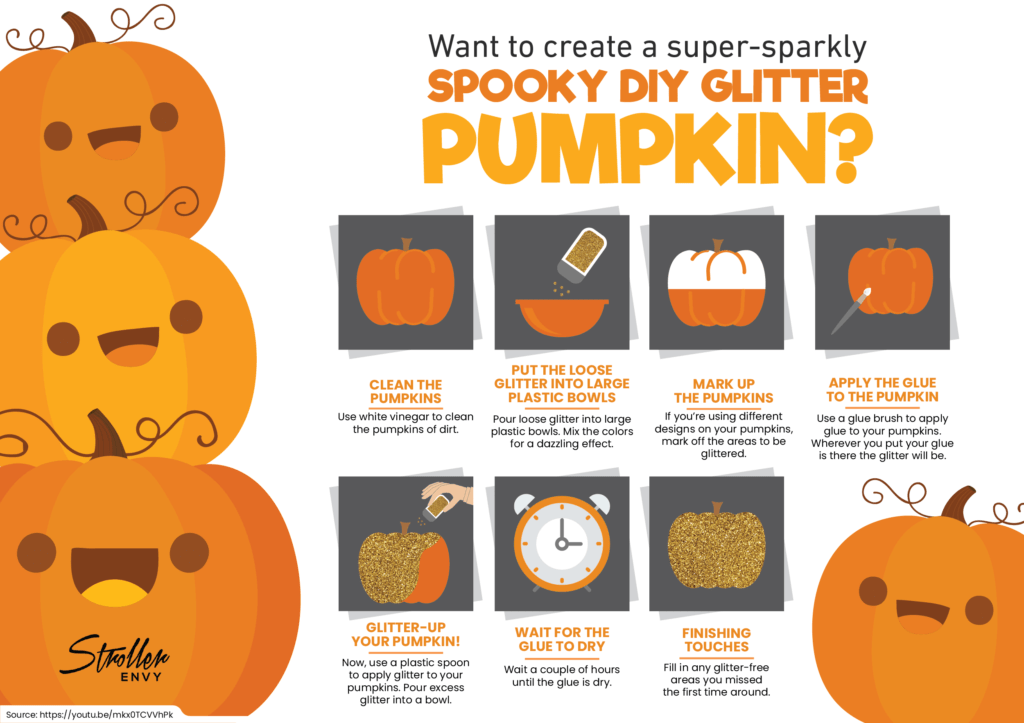
Step 1: Clean the pumpkins
First of all, clean your pumpkins, using white vinegar to get rid of any dirt, especially if you’ve bought them straight from the grower. That’s important, as the glue won’t stick to the pumpkin skin if it has a coating of soil!
Before you start working, it’s a good idea to put a large sheet of paper under the cleaned pumpkin so that you don’t get glue and glitter all over your work surface.
Step 2: Put the loose glitter into large plastic bowls
Now, pour your loose glitter into plastic bowls, which should be big enough to allow you to sit a pumpkin inside.
You can mix the glitter colors if you like or just put each color into a separate bowl.
Step 3: Decide on your designs and mark up the pumpkins
You may want to create different designs on each pumpkin. To do this, use a pen to mark off areas of the pumpkin that you want to cover with glitter. That makes it easier not to lose track of where you’re putting the glue.
Step 4: Apply the glue to the pumpkin
Next, you need to apply some glue to one of your pumpkins, using a glue brush.
The glue should come in a small jar, but you may find it easier to handle if you pour some into a plastic bowl.
Work on one part of the pumpkin at a time so that the glue doesn’t dry out too quickly. You might want to start by glittering the bottom of the pumpkin, and then move onto the sides. That way, you can set the pumpkin on a paper plate while you work on the rest of your design.
Remember to decorate the pumpkin stem last of all, as you’ll need it to pick the pumpkin up and move it around.
To create a cool, melting wax effect, allow some glue to drip down the sides of the pumpkin!
Don’t worry if the glue is white. As it dries, craft glue becomes transparent, so you won’t be able to see it on the finished pumpkin.
Wherever you put the glue is where the glitter will be when you’ve finished the project. So, you might want to make some pumpkins that are glittery all over, and some that have patterns of your choice.
Step 5: Glitter-up your pumpkin!
Now, it’s time to get busy with your glitter!
You can apply the glitter to the pumpkin by pouring it on with a plastic spoon, or you may prefer to dip the pumpkin into some glitter that you’ve poured into a bowl. Whatever works best for you is perfect!
As you work, pour any excess glitter from the pumpkin back into the bowl.
Step 6: Wait for the glue to dry
Once you’ve finished, allow a couple of hours until the glue is completely dry.
Step 7: Finishing touches
Finally, take a look over your finished pumpkins and use more glue and glitter to fill in any areas you missed the first time around.
Now you have a selection of sparkly, spooky pumpkins to give your Halloween decorations an extra-cool look this year! Well done!
This project came to us from the Haschak Sisters. For more details on how to create these stunning glitter pumpkins, check out their video here.


