If you have a preschooler in your family, you’ll love this simple, fun DIY shirt that your child can wear to celebrate the 100th day of school. The inspiration for the shirt’s design comes from a plain, old gumball machine!
Kids love to dress up, and you can be sure that this simple, yet eye-catching, “T” will be the envy of all your child’s friends! And the great thing about this project is that it won’t break the bank.
This colorful gumball shirt is so much fun to wear; your child will want to wear it again and again so your efforts won’t be wasted!
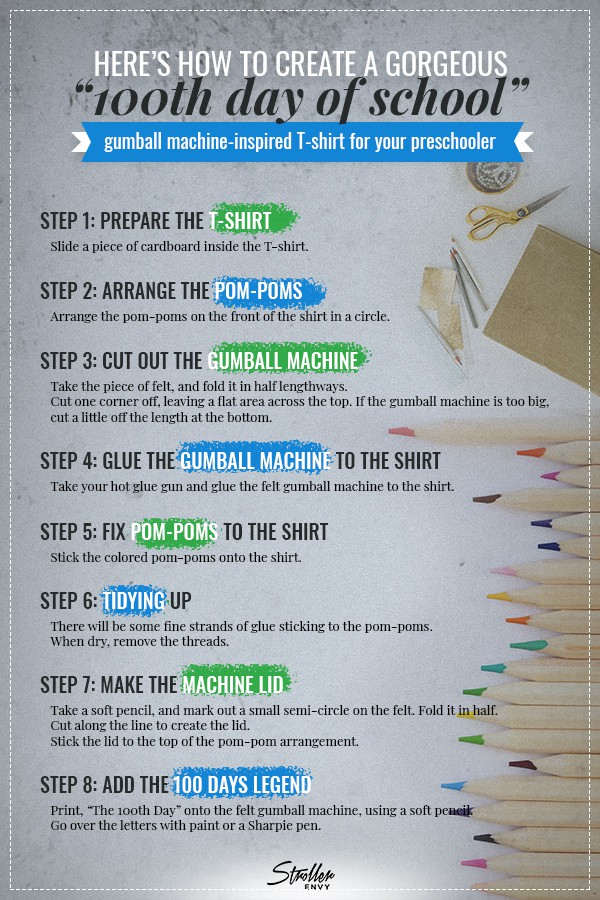
Here’s how to create a gorgeous 100th day of school DIY shirt.
Table of Contents
What you’ll need:
- A plain T-shirt (any color works fine)
- Small piece of red felt
- 100 multicolored pom-poms
- Hot glue gun and sticks
- Fabric paint or a black Sharpie pen
- Cardboard box
- Scissors
- Soft pencil
You’ll find everything you need for this project in your local crafts store or online at the handy links we’ve included in this article.
How to do it:
Step 1: Prepare the T-shirt
First of all, you’ll need to slide a piece of thick cardboard inside the T-shirt. That’s to prevent the hot glue from soaking through the fabric and damaging the back of the shirt.
Step 2: Arrange the pom-poms
Next, arrange the pom-poms on the front of the shirt in a circle. Remember to use 100 pom-poms – one for each of the 100 days of school! That allows you to see where you’ll need to position the felt that’s going to make your gumball machine.
Step 3: Cut out the gumball machine
Now, you need to create your felt gumball machine.
To do that, take the piece of felt and fold it in half lengthways.
Cut one corner off the felt, leaving a flat area across the top that’s a few inches in length. When you open out the felt, you will have your gumball machine. If the gumball machine is too big to fit the shirt, that’s no problem! All you need to do is cut a little off the length at the bottom of the felt so that the piece fits onto the T-shirt.
Step 4: Glue the gumball machine to the shirt
Take your hot glue gun and spread some glue over the central area of the felt gumball machine.
Apply the felt to the T-shirt. Now, go around the edges of the felt with the glue gun so that the fabric is firmly stuck to the shirt with no curling edges.
Step 5: Glue the pom-poms to the shirt
Now, you’re going to stick each one of the colored pom-poms onto the shirt to create the effect of gumballs in the gumball machine.
All you need to do is put a small dab of hot glue onto each pom-pom and stick it down firmly onto the shirt.
Step 6: Remove threads of glue from the pom-poms
You’ll notice that there will be some fine strands of glue sticking to the pom-poms. Wait for the glue to dry completely, and then go over the pom-poms, removing the threads.
Step 7: Make the gumball machine lid
Real gumball machines have a small red lid on top. So, you’re going to make one from the leftover felt.
Take a soft pencil, and use it to mark out a small semi-circle on your piece of felt. Fold the felt in half, and then cut along the line you marked to create the lid.
Use some hot glue to stick the gumball machine lid to the top of your arrangement of gumballs.
Step 8: Add the 100 days legend to the gumball machine
Now, you’re going to print, “The 100th Day” onto the felt gumball machine. You can use a soft pencil to do this in case you need to make any adjustments.
Once you’re happy with the finished text, use a Sharpie pen or some fabric paint to go over the letters.
And you’re done!
We bring you this project courtesy of Tami Dunn.
Why not take a look at some more of Tami’s great craft ideas on her YouTube channel? If you’d like to watch a full video of this tutorial, click this link.


