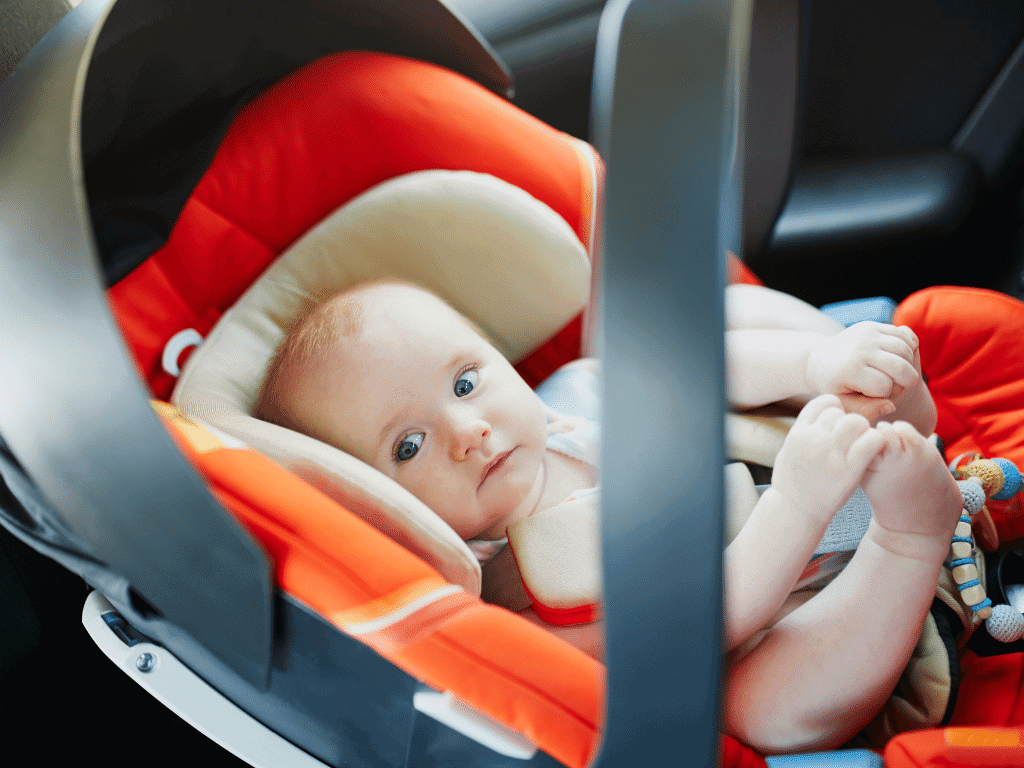
Babies are frequently messy, which is a reality of life, especially for parents!
We all know how frustrating it is to hand our children something valuable, and they drop everything in their path. The number one thing that gets in the way of a parent’s peace is dirty baby car seats!
It’s hard enough to take care of your kids when they are small but imagine having another human being who needs constant monitoring. They may have significant mishaps, and before you can even pull over, it’s disgusting, so you can’t help but shudder. “How am I ever going to clean this up?” is the next question that comes to mind.

Table of Contents
How To Clean Baby Car Seats
If you enjoy taking your baby on automobile trips, you’ll be aware that these circumstances are by no means limited to the conveniences of your home. Your child’s car seat is likely to have already seen vomit, sweat, and a variety of other liquids that may have been splashed on and absorbed by the fabric.
It’s not just about the stains. A car seat can quickly go from shiny to grimy due to all those Goldfish crumbs and juices left behind by kids who don’t seem too concerned with cleaning up after themselves. However, there are ways you may be able to help keep your child safe while also making sure their ride home is clean and enjoyable.
As your baby’s immune system is still developing, germs, mildew, and other unsavory items thrive in the interior of your automobile seat. Keep reading to learn how to keep you baby car seat clean and safe.
Detach The Seat
The first thing you’ll want to do is take the car seat out of your vehicle and put it on a cover—maybe an old blanket or tablecloth if available.
Make sure that any toys attached to the baby carrier are unclasped before starting to the cleaning process. To clean the car seat, take a photo of it wholly erected before dismantling it (and then snap a picture for each stage of taking it apart). This is especially useful if you have to reassemble the seat.
Wipe Off The Car Seat
When you’re cleaning out the nooks and crevices, gather up as much solid waste as possible. This will make the process move along much more quickly than you will expect.
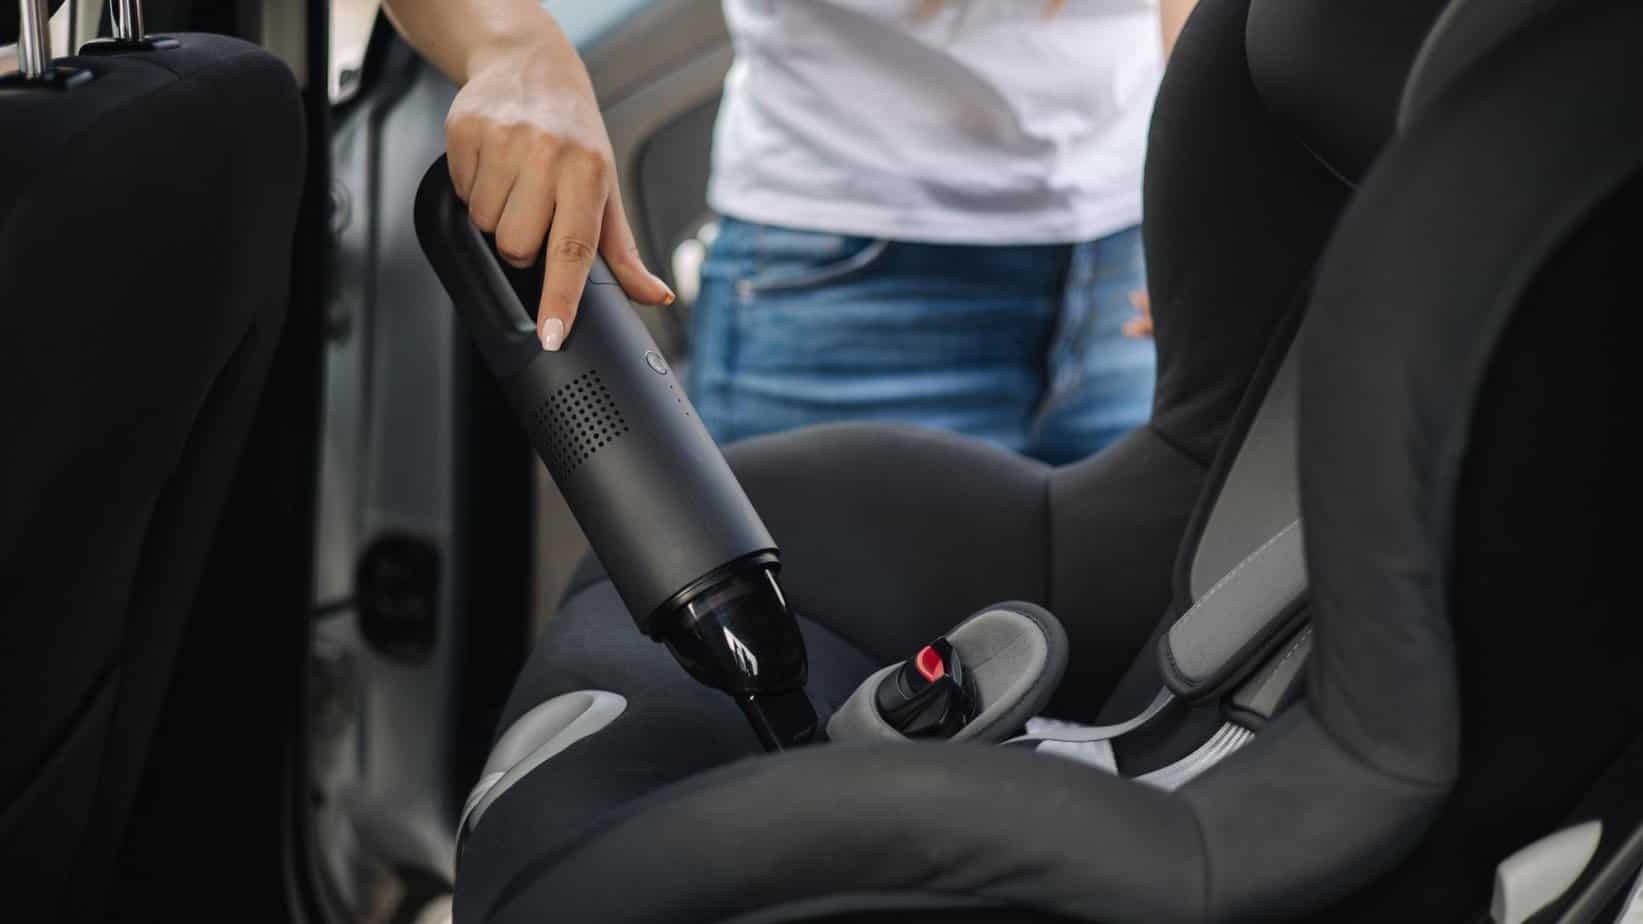
Next, dampen the area and then wipe it down. This can be as simple as using baby wipes or a cleaning towel. Even better, if you have a handheld vacuum.
Remove The Cover
Next, remove any covers or padding on the car seat. Most chairs come with a removable lid, so start there for simple access to all its components.
Unfasten clips around the edges, peel back each section before removing it from overlying materials like fabric and vinyl trim pieces that may accumulate dirt easier than you think if they’re not regularly cleaned out after use (and even when washing hands).
Washing the fabrics on a cycle with cold water is ideal. Check your instruction manual to be sure this is allowed. Use a light detergent and rinse thoroughly. If you’re cleaning your car seat in the machine, don’t put it in the dryer. Putting any car seat components in the dryer might cause them to deteriorate.
Clean The Harness And Buckles
The harness of your car seat can become covered in grime, so it’s time to get cleaning! Take a warm cloth or sponge and rub-down the webbing as much as possible.
You might want to use something more substantial if needed, like Clorox, but be careful not to use too many cleaning products. The harness’s webbing may be destroyed by abrasive cleaners, putting the seat at risk.
Cleaning products can also irritate your baby’s skin so be sure to explore all cleaning product options, including natural solutions.
Cleaning the buckles is simple, although you must use caution since they are delicate. You should be able to swish them around in the water to remove any debris that are trapped in the grooves and trim corners.
Make sure to follow the manufacturer’s instructions carefully as each brand has its own set of rules regarding cleaning the buckles.
Dry The Car Seat
Place your car seat where it will air-dry entirely, and make sure to leave the cover hanging out if you have one. Air drying in direct sunlight is best for getting rid of any lingering odors, but be careful not to let them get too hot, or else they might peel.
If the cover does not come off, leave it in direct sunlight to dry. It’ll probably take longer than if you disassembled everything but it’s worth taking the time to dry to avoid mold and mildew.
You may need to leave your car seat out to dry for a few hours or up to a whole day for it to completely dry.
Reassemble The Baby Car Seat
Installing a baby car seat is quite an involved process, but don’t worry! You’ll be guided step-by-step by the manual and photos that came with your particular model.
Make sure you reinstall the car seat correctly, or else it won’t work correctly. If you’re having trouble with the re-installation, refer back to the car seat manual for further instruction.
Final Thoughts
The most important thing to remember about cleaning your car seat is that you should do it soon after any spills or dirt have accumulated on the fabric.
This will ensure you can get rid of all stains before they set in, which could ruin an otherwise excellent, dearly loved possession.

