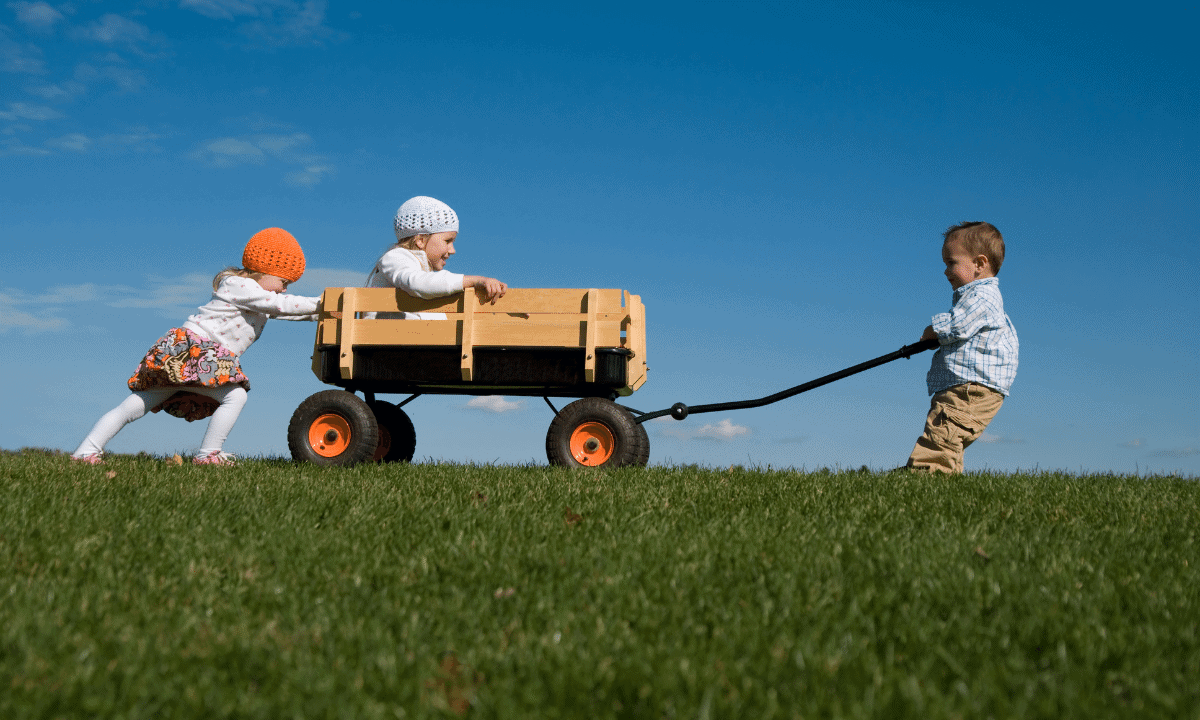
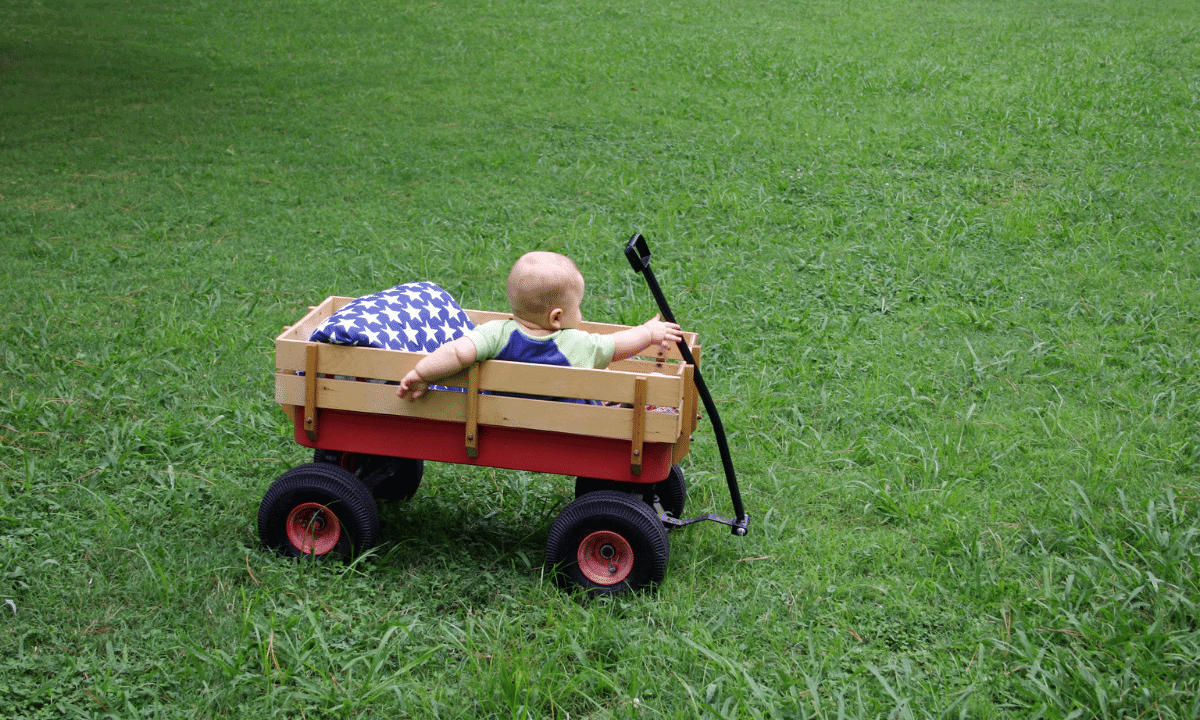
Covered wagons are a fun option to transport your children or just for them to use during playtime!
A covered wagon is a must-have for any family on the move. It’s small-sized and lightweight, which makes it easy to take wherever life takes you.

Table of Contents
How To Make A Covered Wagon For Kids
The Conestoga wagon was a staple of American westward expansion, used by pioneers to transport their goods across the plains. These covered wagons were often pulled by teams of mules or oxen.
The wagons are an enduring symbol of the era when America’s foremost goal was to settle on new land. So how can you make a covered wagon for your kids? Supplies you will need include:
- A large garden cart
- Plywood base
- Glue
- Nails
- Thin pipes
Step 1
Attach the plumbing fixing collars to the frame of your wage. This will allow you to drill holes in appropriate locations for bolts and attach them using fasteners.
These fasteners can be easily removed when necessary without causing any damage or looseness from their tightness.
Step 2
The design of the new carts is much more practical and efficient because they don’t need to use stabilizers. More unique shapes allow for a simpler, car-like guiding with both wheels affixed at one endpoint on an axle that can pivot between them when making turns.
Add stabilizers to keep your wagon from flipping over during a tight turn. The cart isn’t sturdy enough to make a turn with your child sitting on the fore wheels.
To make sure that your cart remains stable and doesn’t tip over when you’re pushing it through rough terrain or water-filled ditches, bend two steel strips into shape so they only clear the surface, but can bear weight.
These fasteners are then attached under the wagons bottom edge with bolts to protect against any momentum-driven shaking caused by uneven roadways!
Step 3
Once you’ve fastened one end of the pipes to a ring on each side, dome them over to make bows that will support your wagon cover.
Use a Velcro cable to secure the ends near where they meet up with an opposing pair in front, just below where it clips into the cart’s body.
Step 4
Side panels allow you to personalize your wagon by printing images on display boards. We found a great service online for around $15 each in the US! Look around and find an authentic product that fits your needs.
Plastic display boards are now available with a convenient “cellular” structure that allows you to string nylon rope through it, allowing the board to be easily tied up and out of your way.
Step 5
The cushion in your wagon is easily removable and can be washed because it’s attached to the base with PVA glue.
First, put sponges on both sides of plywood for seat supports. Then, place them face down to create a comfortable atmosphere. Once you’ve stretched and stapled enough of the vinyl to cover all sides, trim some away at corners so there isn’t too much excess material.
Cutting the vinyl panel to size and applying PVA is easy to make a seat cushion for any cart. Just make sure you have enough space underneath it before installing, so there aren’t any bubbles.
Join the ends of your fabric to create a cushion that can be tied off and used as decoration. Start by holding it in place with some pins, then stitch along all four sides using an abandoned seam for added flare-like effect. Tie a ribbon around the cushion’s top so that it can be tied to the frame and does not collapse inwards.
Step 6
The final product should have a string at each end with an adjustable lever so that it can be closed tightly.
Leave the corners unzipped to allow for expansion when necessary and add elastic strings alongside edges where there is no fabric on either side of them, passing through tiny holes to prevent any snags or tears from happening during use.
Knot one end of the string to a washer or similar item that can be threaded between the opening and down the hem. Tuck a lever at each end and make a few large knots to keep it in place after passing through it. Repeat with both lots of the shade.
The shade is held in place by sewing along the creases on the fabric’s inner surface and providing sufficient area for pipes. This works like how you find loops or folds that attach tents with tent stakes. Only here, they’re called ribbons that will hold your canopy tied securely onto whatever cart it’s going onto.
Step 7
To ensure that your canopy is secure while traveling, clip the ends of both pipes through fabric folds. Thread them back into place, then tie them off securely to avoid leaks or accidents.
Final Thoughts
Now that you’ve made your covered wagon, it’s time for the real fun to begin!
Get outside and explore with your kids. They’re going to love riding in their very own wagon. If you have any questions or want to share pictures of your work, feel free to leave a comment below. We can’t wait to see what you create!

